
https://www.piqsels.com/en/public-domain-photo-jsqmc
Nuance.
Each move is placed into the spot light to determine whether it was justified. A simple numerical evaluation calculated by processors comparing thousands of variations. While we shouldn't aspire to this brute force method, too many completely ignore the engine. Everything from doubt about our opponents capacity to find variations to blind rejection in practicality. I, instead, will discuss a compromise between the two which rests in the concrete facts of the position.Discuss this blog post in the forum IM NikolaN98
 FM MathiCasa
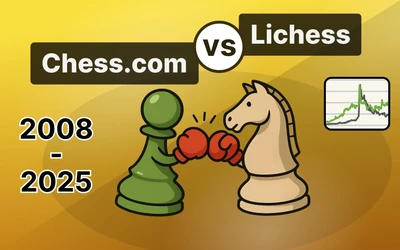 ChessMonitor_Stats
 HollowLeaf
 JustAnotherLine44
 CM HGabor
You may also like
IM NikolaN98Top 5 Mistakes You Should Avoid in Your Games
Improvement in chess doesn’t always come from learning more openings or memorizing longer lines, it …FM MathiCasaChess Football: A Fun and Creative Variant
Where chess pieces become "players" and the traditional chessboard turns into a soccer fieldChessMonitor_StatsWhere do Grandmasters play Chess? - Lichess vs. Chess.com
This is the first large-scale analysis of Grandmaster activity across Chess.com and Lichess from 200…HollowLeafIntegrating Maia2 (The Human-Like Chess Engine) into My Chess Application
A beginner-friendly look at human-style AI, neural networks, ONNX models, opening books, and everyth…JustAnotherLine44Concessions.
The process by which your opponent defends a square or prevents a tactical idea by creating a separa…CM HGabor